
Last updated on September 23rd, 2026 at 10:46 am
In Yoruba markets, it is called lafun, and in Congo and Rwanda it goes by cossettes. Fermented cassava flour starts with roots soaked in water for days, and that soak does more for safety than almost any other home step.
This guide answers two questions in one place: what this sour, soaked flour actually is, and how to make it properly at home.
My community in Ntigha has soaked cassava before drying it for generations, and I still process roots this way on a small scale.
As a chemical engineer, I also care about the numbers, so every safety figure below comes from published research.
Along the way, I correct a statistic that circulates widely online, including in earlier versions of pages on this site.
You will learn where this flour fits in cooking, and which popular claims to ignore.
Disclaimer: This article is for informational purposes only and does not constitute medical advice. The author is not a medical doctor or registered dietitian. Always consult a qualified healthcare provider before making dietary or medical decisions related to cassava consumption.
Table of Contents
What is Fermented Cassava Flour?
Fermented cassava flour is made by soaking whole or peeled roots in water for several days, then crumbling, drying, and milling them.
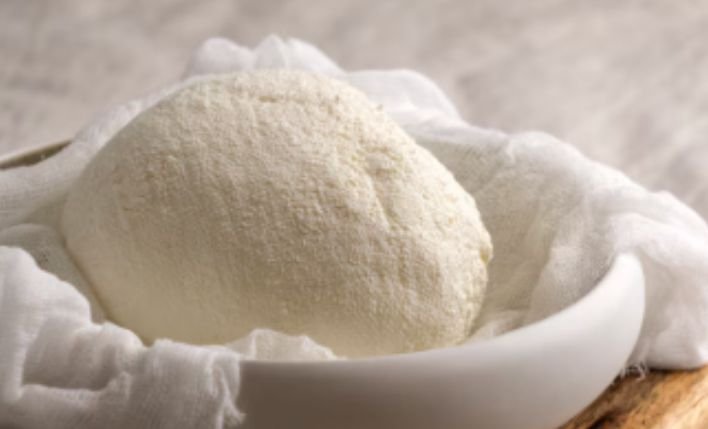
An FAO overview of traditional cassava processing names it lafun in Nigeria, cossettes in Congo and Rwanda, and makopa in Tanzania.
The same source says roots are usually immersed for 3 to 4 days, which softens the tissue and starts fermentation.
The result tastes mildly sour and smells faintly tangy, quite unlike the neutral, unfermented flour sold in American supermarkets.
Nigeria’s high-quality cassava flour, or HQCF, is also unfermented, and it is the type bakeries blend with wheat.
For how all cassava flour types compare, see our complete guide to cassava flour.
It is also not garri, which comes from grated, fermented mash roasted into granules rather than soaked roots milled into flour.
Why Fermented Cassava Flour Is Safer
Soaking lets the root’s own enzymes and microbes break down cyanogenic compounds, and much of the released cyanide leaches into the soak water.
The FAO overview cites a 70 to 95 percent cyanide reduction after roots soaked in water for three days.
A study in the International Journal of Food Properties found 71 to 93 percent reduction over 2 to 4 days of fermentation, ahead of blanching.
Closer to home, lafun made from TME 419 roots in a Nigerian study showed a 92 percent drop in cyanide from the fresh roots.
That variety matters to me, because TME 419 is one of the main varieties I grow in Ntigha.
One figure needs correcting, because many pages, including earlier versions of ours, claim soaking cuts cyanide by 52 to 57 percent.
In the original PubMed study, that range came from 96 hours of fermenting grated pulp for garri, not from soaking roots for flour.
The same study found that soaking sliced cassava for only 24 hours before sun drying cut cyanide by about 38 percent.
The lesson is simple: a one-day soak helps, but the full three to four days delivers far bigger reductions.
How to Make It at Home, Step by Step
This is the method I learned in Ntigha, adjusted with the drying targets that modern flour standards now expect.
Select roots: choose mature, firm roots harvested within a day, since bruised or aging roots ferment unevenly and spoil faster.
Peel and cut: peel off the skin and the pinkish layer beneath, then cut the roots into large chunks.
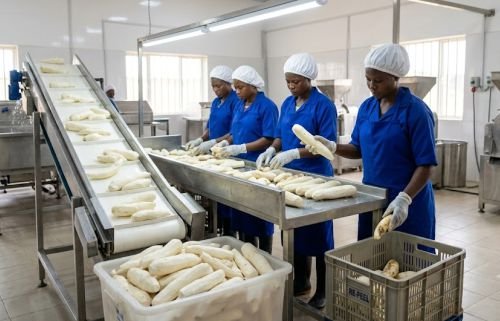
Soak: submerge the chunks fully in clean water in a plastic or clay container, and cover it loosely.
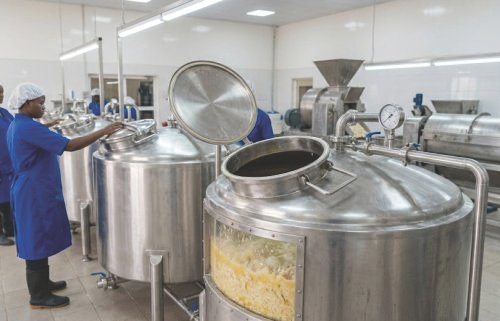
Wait three to four days: the roots are ready when they break apart easily between your fingers and smell pleasantly sour.
Remove fibers and crumble: pull out the woody central strand, then break the soft pulp into small crumbs.
Dry thoroughly: spread the crumbs thinly on clean mats or a raised rack in full sun, turning them several times a day.
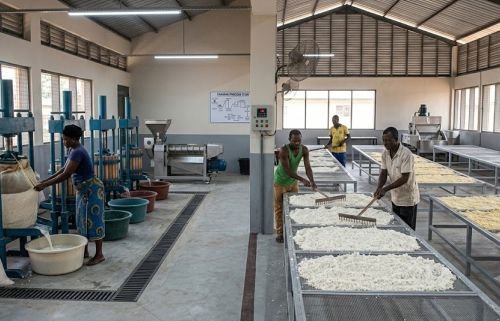
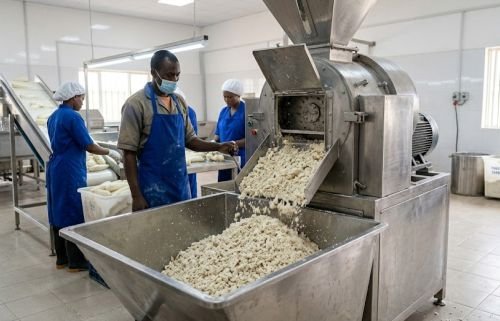
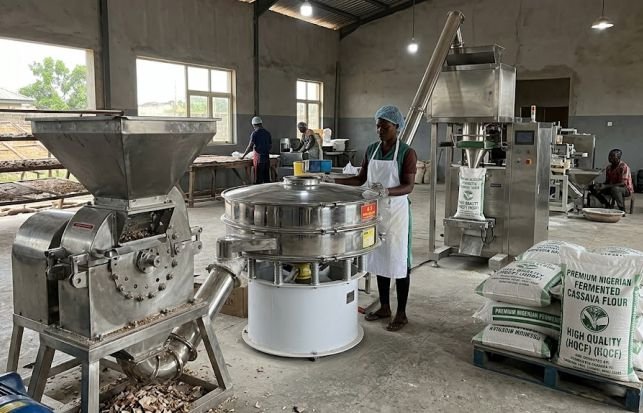
Mill and sieve: grind the dry crumbs into powder, then sift through a fine mesh for an even texture.
Never reuse the soak water, and pour it away from wells and streams, because it carries the cyanide the roots released.
Larger batches produce enough of that liquid to need proper handling, as our guide to managing cassava processing wastewater explains.
Picking roots at the right age also helps, and our guide to spotting harvest-ready cassava shows what to look for.
In my experience, rainy-season drying is the hardest part, so a raised rack under a clear plastic sheet saves many batches from mold.
Drying and Storage Targets
Moisture is the number that decides shelf life, because damp flour invites mold and turns lumpy.
Commercial standards typically cap cassava flour moisture at about 13 percent, well below what damp crumbs hold.
An Indonesian national standard sets that 13 percent ceiling, as noted in the Journal of Agriculture and Food Research.
At home, the crumbs are dry enough when they snap cleanly and leave no damp feel on your fingers.
Store the milled flour in an airtight container somewhere cool and dry, and refrigerate it in very humid climates.
A musty smell, gray patches, or hard clumps mean spoilage, which differs clearly from the clean sourness of good flour.
Claims That Do Not Hold Up
Fermentation brings real, measurable gains, but three popular claims about this flour deserve caution.
- “It is full of live probiotics”: sun drying and milling leave little chance that the fermenting microbes survive into the finished flour in meaningful numbers.
- “Only lactic acid bacteria do the work”: the FAO overview lists yeasts, molds, and bacteria working together in lafun, so the process is a mixed fermentation.
- “Garri and banku are made from this flour”: garri comes from grated, roasted mash, and banku uses fermented dough, not dried flour.
Our overview of cassava processing methods shows how garri, fufu, and flour lines differ from one another.
Conclusion
Fermented cassava flour earns its place through one proven benefit: a three to four day soak removes most of the cyanide.
Make it with sound roots, soak them fully, dry the crumbs hard, and store it sealed and cool.
Use it for amala lafun and savory bakes, and blend it with unfermented flour when the tang feels strong.
Ignore probiotic promises, and trust the published cyanide research, which is far stronger.
Try one small batch this dry season, and tell me in the comments how your first lafun turned out.
FAQ
How long should cassava soak to make lafun?
Traditional methods soak roots for three to four days, until they crumble easily and smell sour. A one-day soak removes noticeably less cyanide, according to the published research.
How much cyanide does fermentation remove?
Studies report 70 to 95 percent reductions after multi-day soaking, including about 92 percent for lafun. A 24-hour soak, by contrast, cut cyanide by only about 38 percent.
Is lafun the same as garri?
Lafun is soaked root dried and milled, while garri is grated, fermented mash roasted into granules. They taste, cook, and look different, so one cannot replace the other.
Does this flour contain probiotics?
Not in any reliable amount, because thorough sun drying and milling leave few fermenting microbes alive. Its proven benefits are lower cyanide and a pleasantly sour, distinctive flavor.

Chimeremeze Emeh is a tropical crop farmer and chemical engineer from Ntigha, Isiala Ngwa North LGA, Abia State, Eastern Nigeria, specializing in cassava and palm oil, with over 30 years of hands-on experience growing, harvesting, and processing cassava. He grows TMS series, TME 419, and local traditional varieties on his own farms and operates a small-scale cassava flour and starch production business through Cassava Pathway, which he founded as a CAMA-registered agribusiness in 2024. He is also the founder of Palm Oil Pathway, where he applies the same tropical farming expertise. His farms are located in Ntigha, Abia State.