
Last updated on July 8th, 2026 at 06:53 pm
Every dry season on my farm in Abia State, I turn fresh cassava roots into clean tapioca starch, also called cassava starch, using only water, a cloth, an oven, or sunlight when there is no electricity. The exact method my grandmother relied on long before packaged flour became popular.
Learning how to make tapioca starch and flour at home turns raw cassava root into two staples used in gluten-free baking and thickening.
As a chemical engineer-turned cassava farmer who has been harvesting and processing cassava starch for more than two decades, I understand the chemistry behind starch extraction and cyanogenic glycoside removal, not just the manual steps.
This guide walks through the process I use on my own farm, from selecting fresh roots to drying finished starch, with safety and purity built into every stage.
Disclaimer: This article is for informational purposes only and does not constitute medical advice. The author is not a medical doctor or registered dietitian. Always consult a qualified healthcare provider before making dietary or medical decisions related to cassava consumption.
Why Sweet Cassava Matters More Than Most Guides Admit
Nearly 40 percent of Africans rely on cassava daily for calories, according to research on cassava genome editing for food safety published in Frontiers in Plant Science.
That scale is exactly why getting the toxin removal right matters, whether you are feeding a family of four or supplying a local market.
Cassava splits into two broad types, and knowing which one you have changes how much processing you need:
- Sweet cassava (varieties like TMS 419 and TME 419, which I grow on my own farm) carries lower cyanogenic glycoside content and needs less intensive processing.
- Bitter cassava carries far higher levels of these compounds and demands full peeling, soaking, and fermentation before it is safe to eat.
If you cannot confirm which type you bought, treat it as bitter cassava and run the full detoxification process below.
This costs you a little extra time but removes any real risk. If you want to learn more about the two types of cassava, read this post.
What You Need to Make Cassava Starch (Tapioca Flour)
Gather these before you start so the process runs without interruption:
- Fresh, firm cassava roots with no soft spots, mold, or dark streaks inside
- A sharp knife or peeler for removing the skin
- A grater, blender, or food processor for pulping
- A large basin or bucket for soaking
- Cheesecloth or a fine cotton cloth for straining
- A flat tray or a clean concrete surface for drying
- A dry blender or grain mill for grinding finished starch into flour
Clean equipment matters here as much as clean cassava. Any leftover grit or bacteria on your tools can contaminate the batch and shorten how long your finished flour stays fresh.
Step-by-Step: How to Make Tapioca Starch and Flour from Cassava Root
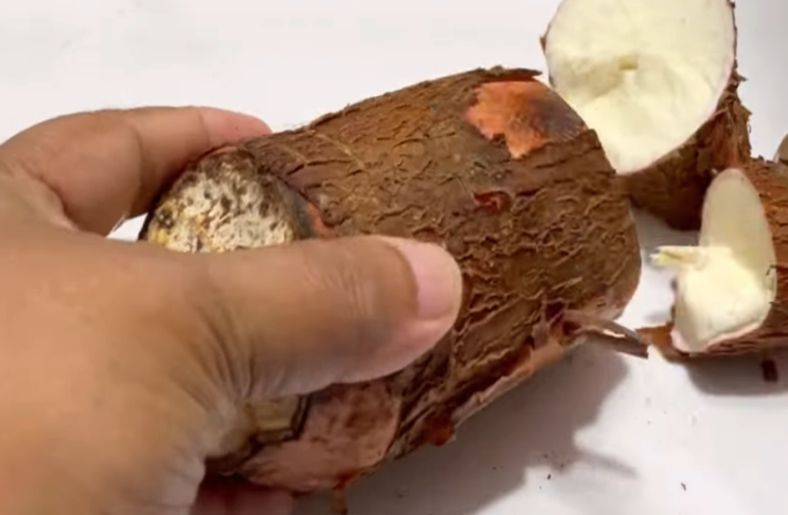
1. Select and Peel the Roots
Choose cassava tubers that feel firm and show white flesh once cut, since gray or blue streaks usually signal spoilage or improper storage after harvest.
Trim both ends with a clean knife, then peel away the thick brown skin along with the thin pink layer underneath it.
That pink layer holds a concentrated share of the root’s natural toxins, so peel it off completely rather than leaving patches behind.
Read about how to peel cassava roots the right way.
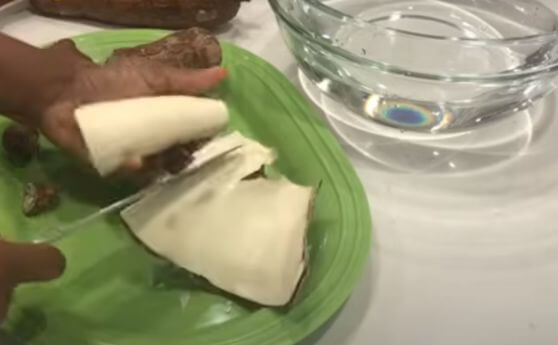
2. Wash, Cut, and Pulp
Rinse the peeled roots under running water to remove dirt, sap, and any lingering skin fragments.
Cut the roots into smaller chunks so they process faster, and work quickly since exposed cassava flesh oxidizes and browns within minutes.
Grate the chunks by hand for smaller batches, or blend them with a small amount of clean water until the mixture looks like a thick, wet paste rather than a smooth liquid.
3. Detoxify Properly, Not Just Traditionally
This is where most home guides give advice that sounds reasonable but falls short in practice.
A 2025 systematic review of cassava safety studies in Frontiers in Sustainable Food Systems found that soaking alone removes only about 20 percent of cyanogenic compounds, leaving concentrations well above safe limits.
Cooking methods alone, including boiling, steaming, and frying, reduce these compounds by a wide and unreliable range of 10 to 75 percent, depending on the method and duration, according to Food Standards Australia New Zealand.
The combination that actually works is peeling, soaking, and fermentation together, which the same Frontiers review found can bring cyanide levels down close to zero rather than leaving a meaningful residue.
In practice, on my own farm, this means:
- Soaking the pulped cassava for at least 24 hours, changing the water two or three times
- Allowing the soaked pulp to ferment naturally for one to two additional days
- Cooking or drying the flour thoroughly afterward as a final safeguard, never as a substitute for the earlier steps
Skipping the fermentation step and relying on soaking or cooking alone is the most common mistake I see in home tapioca guides, and it is worth correcting directly.
See a dedicated post on how to remove toxins from cassava roots.
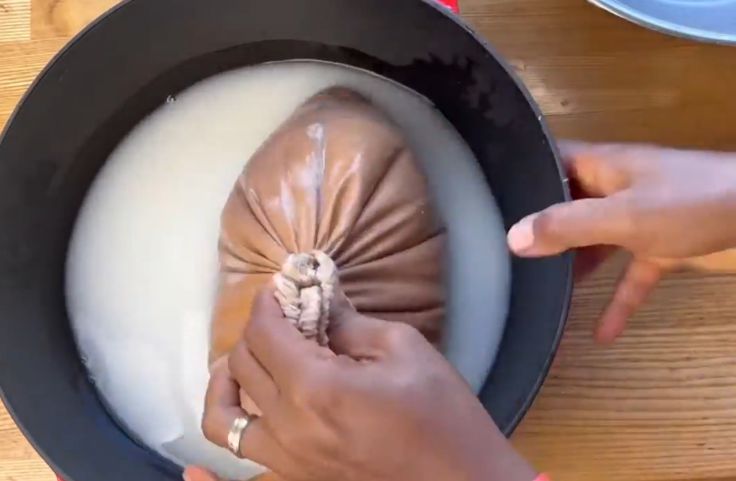
4. Sieve, Settle, and Extract the Starch
Pour the soaked, fermented pulp through cheesecloth or a fine sieve set over a clean container, squeezing firmly to force out as much starchy liquid as possible.
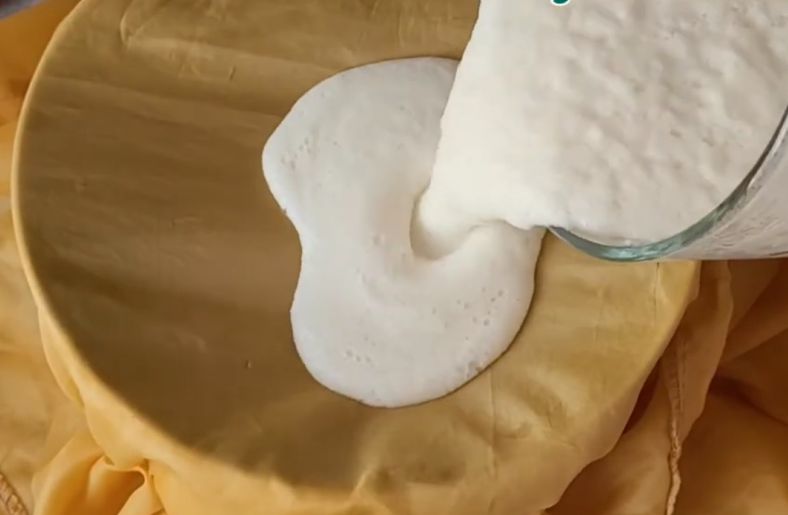
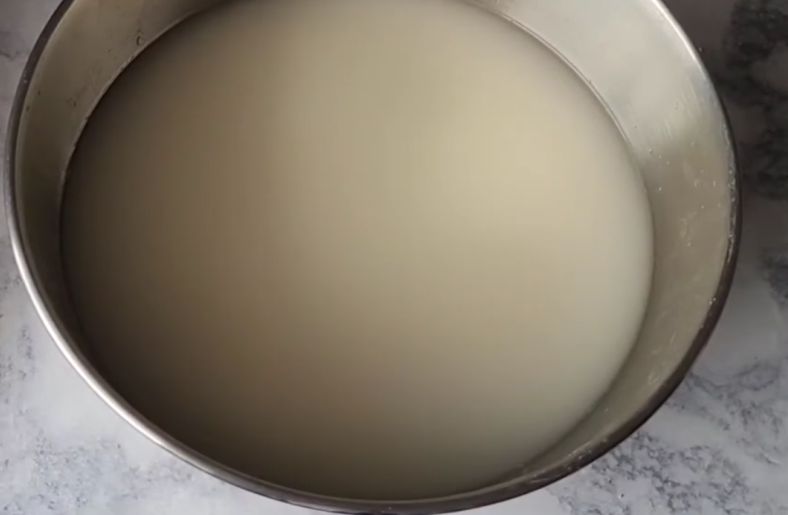
Let that liquid sit undisturbed for several hours, during which the starch settles into a solid white layer at the bottom while clearer water rises to the top.
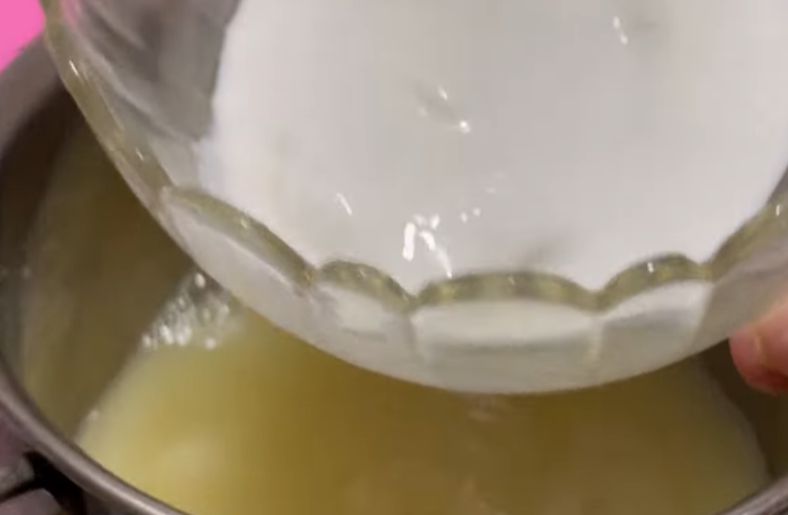
Carefully pour off the top water without disturbing the settled starch underneath, then repeat the settling step once more for a cleaner final product.
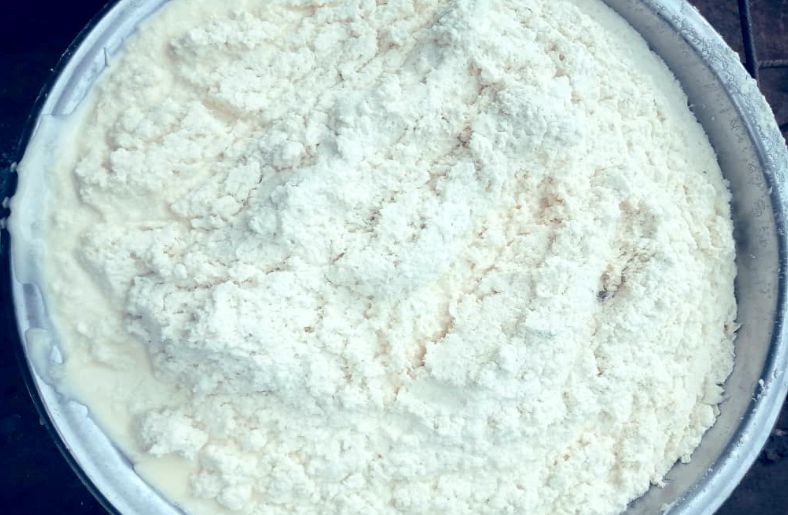
5. Dry the Starch and Grind It Into Flour
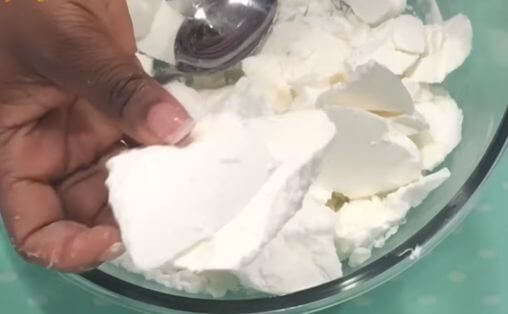
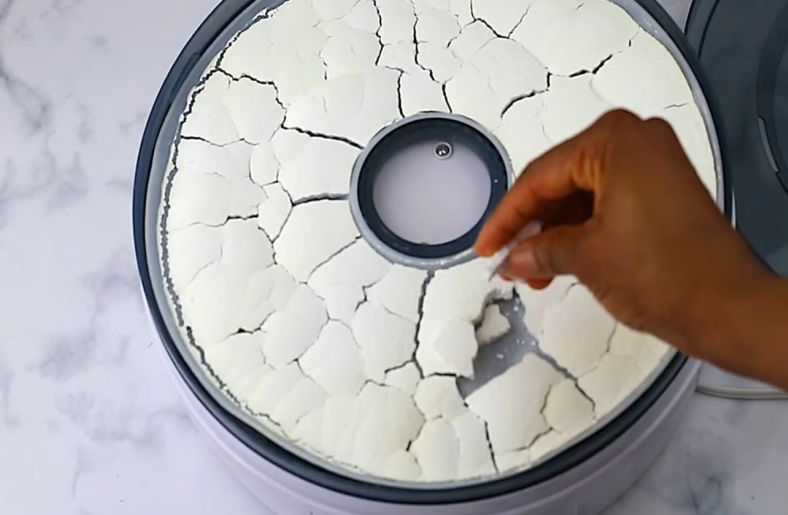
Spread the wet starch in a thin, even layer across a tray or clean surface.
Sun-drying works well in dry climates like Nigeria with good airflow, while an oven set to its lowest temperature with the door slightly open speeds up drying in humid conditions.
I prefer to use the oven in all my productions because it is fast, but careful monitoring is required to avoid burning or cooking the starch.
I avoid sunlight because it is too slow and makes the starch change colour before it is fully dried.
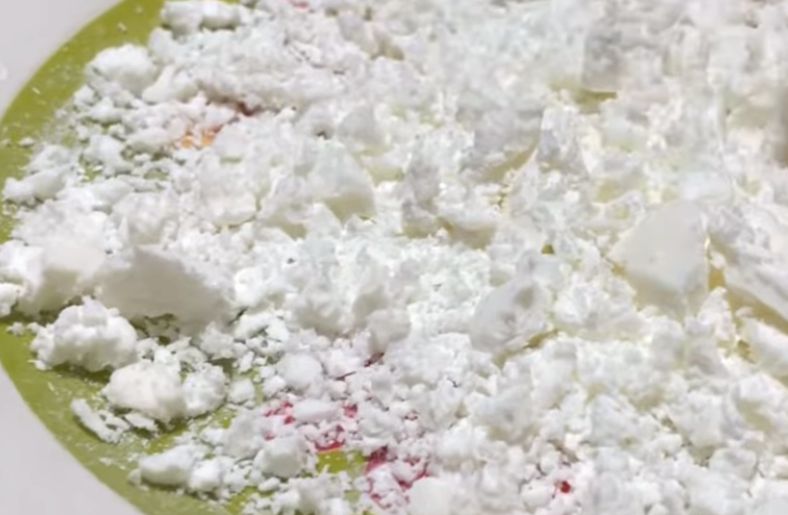
Stir occasionally to prevent clumping and to help moisture escape evenly from every part of the layer.
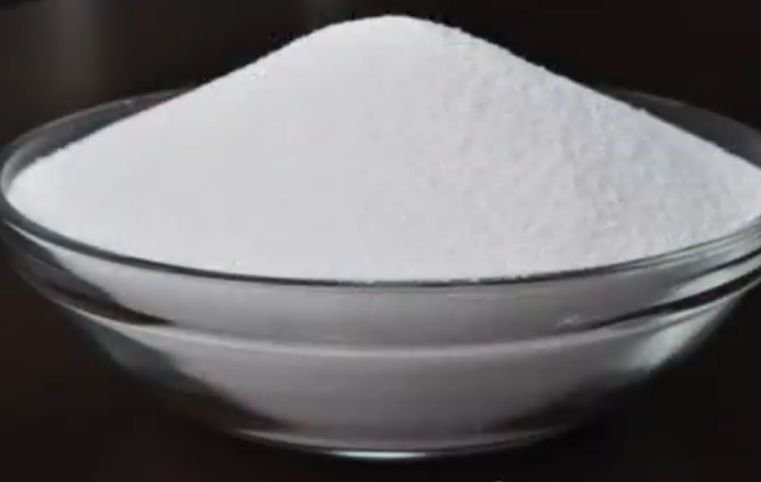
Once the starch feels fully dry and crumbles easily between your fingers, break it into pieces and grind it in a dry blender or grain mill until it reaches a fine, flour-like texture.

Sift the ground flour through a fine mesh to remove any remaining lumps or fiber before storing it.

Watch the video on how to Make Tapioca Starch
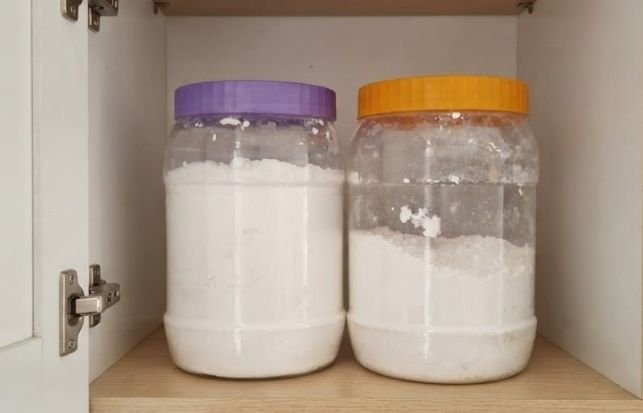
How to Store Homemade Tapioca Flour and Starch
Transfer the finished flour into a clean, airtight container once it has cooled completely, since any residual warmth can trap moisture inside the jar.
Store it in a cool, dark cupboard away from your stove or sink, or refrigerate it if your kitchen tends to run humid.
Properly dried and sealed tapioca flour keeps for up to 12 months, though its thickening strength gradually weakens the longer it sits on the shelf.
Label the container with the date you made it, and discard any batch that smells sour or feels damp to the touch.
Cassava starch production is not a small niche activity globally.
The market for cassava-derived starch has been growing at more than 3 percent annually and now accounts for roughly 7 percent of all starch produced worldwide, alongside corn, potato, and wheat starches, according to a cassava starch overview on ScienceDirect citing FAOSTAT data.
Nigeria remains among the largest cassava producers on earth, which is part of why home and small-batch starch production stays such a common skill across households like mine.
See my recent cassava starch production for household use below.
What You Can Do With Homemade Tapioca Flour
Once dried and ground, your tapioca flour works as a gluten-free thickener for soups, sauces, and pie fillings, and as a binder in gluten-free bread and cake batters.
It also forms the chewy base for boba pearls and traditional cassava puddings enjoyed across many cuisines.
For nutrition specifics on what you are actually eating, see our tapioca nutrition facts breakdown.
If your goal is thickening specifically, our guide on using tapioca starch as a thickener walks through ratios and technique.
For a sweeter application, see how to make tapioca syrup at home, which starts from the same starch base.
And if a recipe calls for a substitute instead, our tapioca starch substitutes guide lists workable alternatives.
Frequently Asked Questions
Can any cassava variety be used to make tapioca at home?
Sweet cassava varieties like TMS 419 work best for home tapioca since they carry lower cyanogenic glycoside levels than bitter varieties, which need longer, thorough detoxification before eating.
How long does it take to make tapioca starch and flour at home?
The full home process usually takes two to three days, covering peeling, pulping, starch settling, and drying, though humid weather can extend drying time by several more days.
Is it safe to eat homemade tapioca starch or flour raw?
No, raw cassava starch still carries residual cyanogenic compounds, so always cook tapioca fully before eating, in bread, thickened sauces, or steamed puddings, to remove remaining toxins safely.
What can homemade tapioca flour be used for in cooking and baking?
Homemade tapioca flour thickens soups and sauces, binds gluten-free bread and cake batters, and forms the chewy base for boba pearls and traditional cassava puddings loved across cultures.
Conclusion
Making tapioca starch and flour at home connects you to a process farmers like me have practiced for generations, now refined with real food-safety data instead of guesswork.
Choose sweet cassava when you can, combine peeling, soaking, and fermentation rather than soaking alone, and dry your starch fully before storing it.
Done right, homemade tapioca gives you a clean, additive-free ingredient for gluten-free baking and desserts.


Chimeremeze Emeh is a tropical crop farmer and chemical engineer from Ntigha, Isiala Ngwa North LGA, Abia State, Eastern Nigeria, specializing in cassava and palm oil, with over 30 years of hands-on experience growing, harvesting, and processing cassava. He grows TMS series, TME 419, and local traditional varieties on his own farms and operates a small-scale cassava flour and starch production business through Cassava Pathway, which he founded as a CAMA-registered agribusiness in 2024. He is also the founder of Palm Oil Pathway, where he applies the same tropical farming expertise. His farms are located in Ntigha, Abia State.