Learn how to make cassava starch at home with easy, step-by-step instructions. Unlock the secrets to creating fresh, natural starch for cooking and more!
Every other four days, called market days in my hometown, we harvest cassava roots, peel and prepare them for the production of cassava flakes – garri.
In the process, we collect the water during dewatering to make cassava starch.
Knowing how to make cassava starch at home is a simple, hands-on process that transforms fresh cassava roots into a versatile, gluten-free starch used in countless recipes.
Whether you’re looking for a natural thickener, a base for tapioca treats, or a traditional ingredient for home cooking, homemade cassava starch is fresh, additive-free, and rewarding to prepare.
This process involves peeling and blending cassava roots into a smooth pulp, extracting the starch through water filtration, and carefully drying the final product.
You don’t need any fancy tools, just cassava roots, clean water, and a bit of patience.
In this guide, you’ll learn each step, from selecting good cassava to drying the finished starch for storage.
Ready to turn your cassava into clean, usable starch? Let’s walk through the easy method of making cassava starch right in your own kitchen.
Four Main Points
- Making cassava starch at home is easy, using fresh roots, water, and simple tools like a blender and sieve.
- The process includes peeling, blending, extracting, settling, and drying to get clean, additive-free starch for versatile cooking uses.
- Clean water and fresh, mature cassava roots are essential for a pure, gluten-free starch with excellent texture and shelf stability.
- Sun-drying or oven-drying the starch helps preserve it for long-term storage, preventing mold and maintaining quality in every use.
Related: Why You Should Be Concerned about the Cassava Glycemic Index
Ingredients and Equipment Needed for Cassava Starch Making at Home
To make cassava starch at home, you need a few simple ingredients and tools.
With the right preparation, you can easily extract starch from fresh cassava roots and make your own starch for cooking and baking.
Fresh Cassava Roots
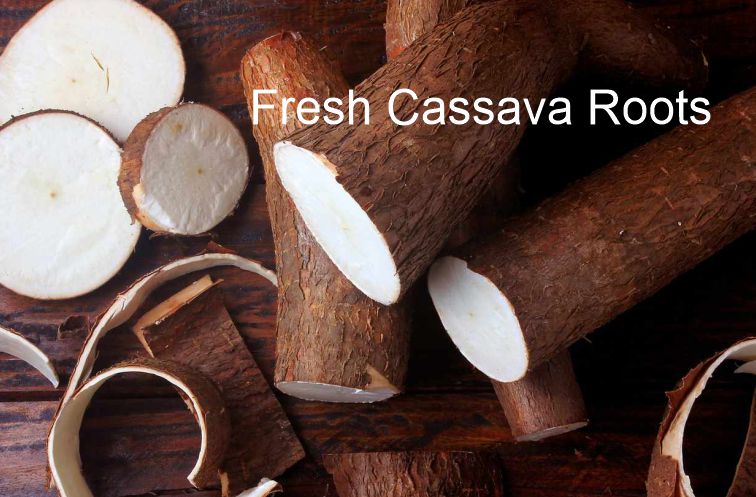
Fresh cassava roots are the main ingredient for making cassava starch. Look for high-quality, mature roots, as they have a higher starch content.
Typically, two to three medium-sized roots are sufficient to make a good amount of starch.
Cassava should be firm, smooth, and free from any mold or blemishes for the best extraction results.
Choosing the right cassava ensures that you get a purer and better-quality starch to use in your recipes.
Water
Water plays a crucial role in extracting starch from cassava. You’ll need approximately one to two liters of clean, preferably filtered water.
The water is used for soaking, washing, and separating the starch from the fibrous material.
It’s important to use fresh, clean water throughout the process to avoid contamination and ensure that the starch stays pure.
The quality of water can impact the final product, so make sure it’s free from impurities.
Grater or Blender
You’ll need a grater or a blender to process the cassava into a fine pulp.
If you prefer a hands-on method, a traditional hand grater works well for shredding the cassava roots.
However, using a blender is faster and more efficient, yielding a finer, smoother pulp.
The goal is to break down the cassava into small pieces that can be easily strained, so choose the method that suits your preference and the amount of time you have available.
Cloth or Sieve
After blending or grating the cassava, you’ll need a cloth or sieve to filter out the pulp from the starch-water mixture.
A fine mesh sieve works well for straining the liquid and separating the starch from the fibrous residue.
Alternatively, you can use a clean muslin cloth, which is ideal for this process.
The cloth or sieve helps in ensuring you only keep the pure starch, free from pulp, for drying and further use.
Bowls
Several bowls are necessary during the cassava starch extraction process.
Use them to collect the filtered water from the pulp and to hold the cassava as it’s processed.
Depending on the amount of cassava being worked with, you may need a few different bowls.
A bowl for collecting the starch-water mixture and another for holding the cassava pulp will make the process much smoother.
Larger bowls can handle more cassava at once, so choose according to your batch size.
Drying Trays
Once the starch has been separated from the water, you’ll need drying trays to finish the process.
Lay the filtered starch on clean, flat trays or surfaces to allow it to dry properly.
This step is essential for ensuring that the starch becomes solid and usable.
Make sure the trays are clean and free from any dust or contaminants.
The drying process can take a few hours or longer, depending on the climate, so patience is key.
Related Posts
Industrial Uses of Cassava Starch
Cassava Root as a Source of Resistant Starch
Cassava Starch in the Food Application Market
Native Cassava Starch Market Trends
What is Modified Cassava Starch?
Step 1: Peeling and Washing Cassava Roots
The first step in making cassava starch at home is peeling and washing the roots. Start by choosing firm, fresh cassava, avoiding any that are soft or damaged.
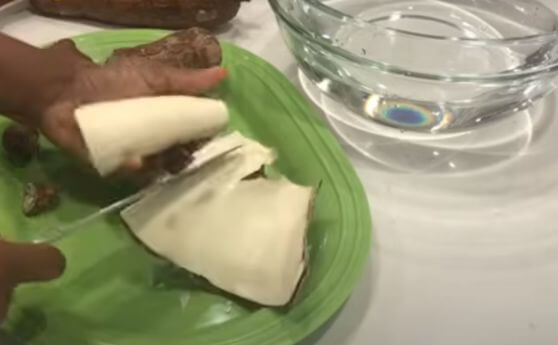
Peeling the Cassava
Use a sharp knife to remove the tough outer skin of the cassava. Be sure to peel off all of the brown skin and the pink inner layer underneath.
This pink layer is inedible and can affect the taste of the starch, so it’s important to remove it completely.
Washing the Cassava
Once peeled, rinse the cassava under cool running water. Gently rub the surface with your hands to remove dirt or any remaining skin.
If there’s stubborn dirt, you can use a vegetable brush. Clean cassava means cleaner starch, so don’t skip this step.
Cutting the Cassava
After washing, cut the cassava into smaller pieces. This makes it easier to process later and helps speed up starch extraction.
Also, work quickly to prevent oxidation, which can turn the cassava brown.
With the cassava cleaned and prepped, you’re ready for the next step in making your homemade starch.
Step 2: Grating or Blending the Cassava
After prepping your cassava roots, it’s time to turn them into a fine pulp.
This step is key in making cassava starch because it helps break down the fibrous texture, making starch extraction easier.
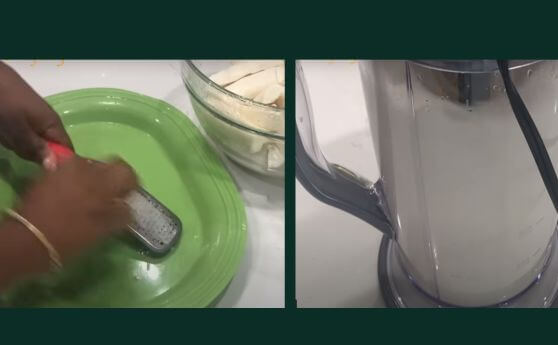
Grating the Cassava
Grating is a traditional method that requires a bit more time and effort but gives you control over the pulp’s texture.
Use a hand grater or a food processor with a grating attachment. Aim for fine grates as this will ensure better starch extraction.
While it can be labor-intensive, grating works well for smaller batches.
Blending the Cassava
Blending is faster and more efficient. First, chop the peeled cassava into smaller pieces to make blending easier.
Add a small amount of water to the blender to help smooth out the pulp. Be careful not to add too much water, as it could dilute the starch.
Both methods aim to create a smooth, fine pulp. This texture is crucial for the next step in starch extraction.
Once you’ve achieved the right consistency, you’re ready to move on to washing the pulp.
Step 3: Extracting the Starch
Now that your cassava pulp is ready, it’s time to extract the starch.
This process is key to getting pure starch that you can use in cooking or other applications.
Here’s how to do it:
Mixing the Pulp with Water
First, transfer your grated cassava pulp into a large, clean container. Add enough water to cover the pulp completely.
The amount of water matters; it should be enough to hydrate the mixture well and help separate the starch from the fibrous material.
Stirring the Mixture
Next, use a long spoon or similar tool to stir the pulp and water.
Stir it thoroughly for several minutes, ensuring the starch granules are dislodged from the fibrous parts.
The more vigorously you stir, the better your starch yield will be.
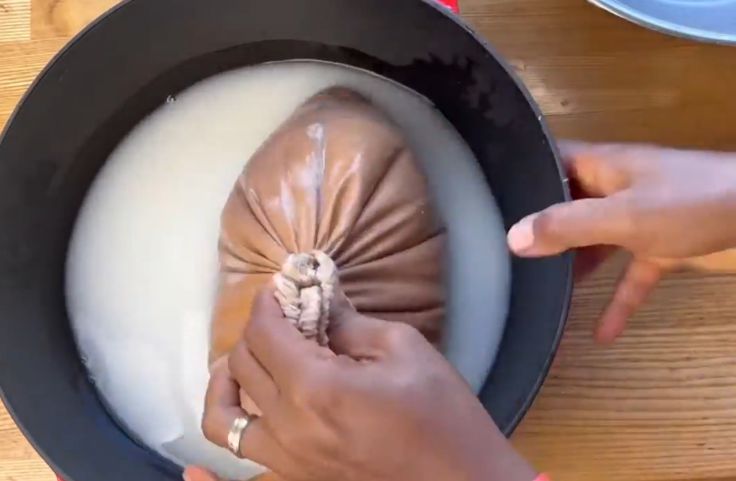
Filtering the Mixture
Place a clean cloth or sieve over another container to catch the liquid.
Slowly pour the mixture into the sieve or cloth, allowing the starchy water to pass through.
This step helps separate the fibrous material from the starchy liquid.
Squeezing Out the Starch
To extract the remaining starch, gather the cloth’s edges and squeeze them gently but firmly.
You can repeat this a few times to make sure you’re getting all the starch from the pulp.
Settling and Collecting the Starch
Let the starchy liquid sit for a few hours or overnight to allow the starch to settle at the bottom.
After that, carefully pour off the excess water and collect the settled starch. Now, you have fresh cassava starch, ready for use.
Step 4: Letting the Starch Settle
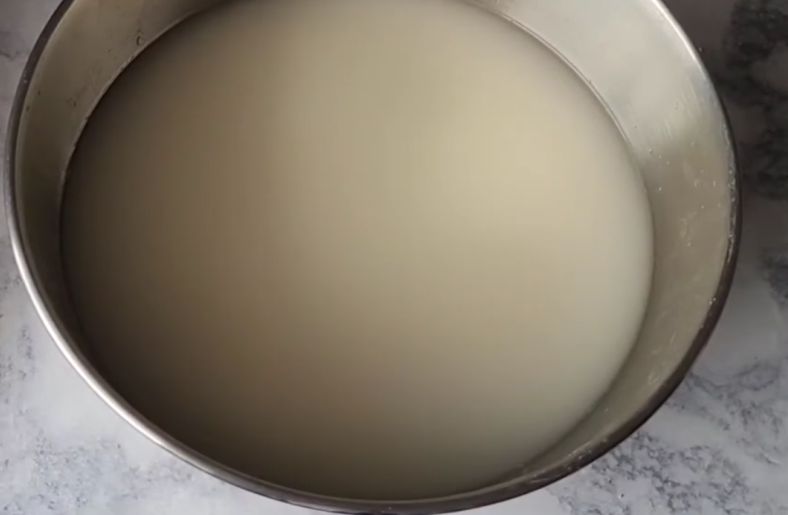
After filtering the cassava mixture, it’s time to let the liquid sit undisturbed.
This settling period, lasting about 2 to 4 hours, is important for separating the starch from the rest of the mixture.
Here’s why it matters:
Waiting for the Starch to Settle
During this time, the heavier starch particles naturally sink to the bottom while the lighter, clearer liquid stays on top.
The starch will form a sediment layer at the bottom of the container.
This layer is where the final product will come from, so patience is key here.
Avoiding Disturbance
It’s important not to disturb the liquid while it’s settling.
Any movement can prevent the starch from settling properly, leading to a less concentrated result.
Keep the container still so the starch has time to settle naturally.
Getting Clearer, Purer Starch
Taking the time to let the liquid settle ensures you get purer, clearer starch.
If you rush this step, the starch may turn out cloudy and full of impurities, which can affect its quality and uses in cooking or food processing.
Letting the liquid sit undisturbed for a few hours will give you the best possible yield of starch for your needs.
Step 5: Decanting the Water
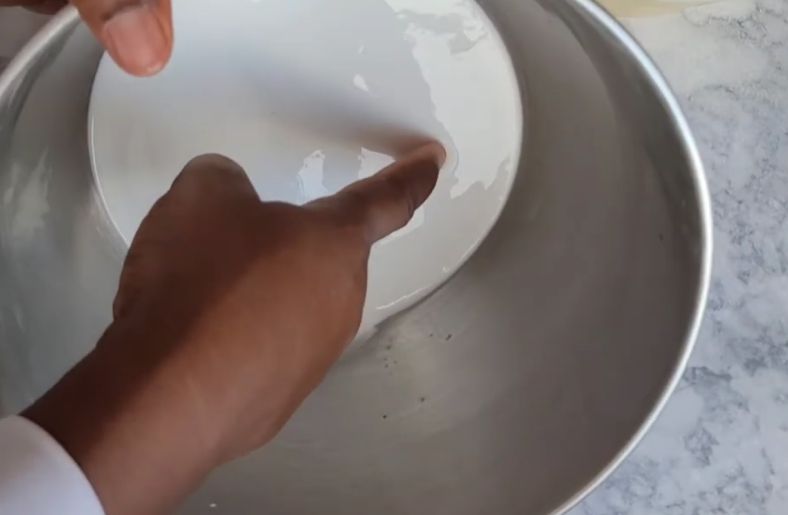
Once the starch has settled, it’s time to carefully decant the water. This step is all about separating the liquid from the starch that has settled at the bottom.
Here’s how you can do it:
Pouring Off the Excess Water
Start by gently tilting the bowl to pour off the top layer of water. Be careful to avoid spilling the settled starch.
You can also use a small ladle or cup to scoop out the water gradually. This gives you more control and reduces the risk of disturbing the starch.
Leaving a Small Amount of Water
Aim to leave about half an inch of water above the starch layer.
This ensures that the starch stays intact while you remove the water.
Take your time to carefully decant without rushing, as this will preserve more starch.
Rinsing the Starch
After most of the water has been poured off, you might need to remove a little more liquid.
Do this gently to avoid stirring up the starch.
If you notice any floating starch particles, don’t stir them back into the water.
Once done, you can rinse the starch lightly with fresh water to remove any leftover impurities.
Decanting properly helps you get the purest cassava starch possible, so be sure to follow these steps carefully.
Step 6: Drying the Starch
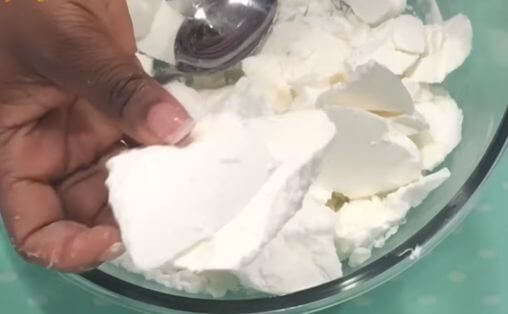
Once you’ve extracted your cassava starch, the next step is drying it properly.
This step is vital for preserving the starch and preventing mold or spoilage during storage.
There are two main methods to dry the starch: sun-drying and oven-drying. Both have their pros and cons.
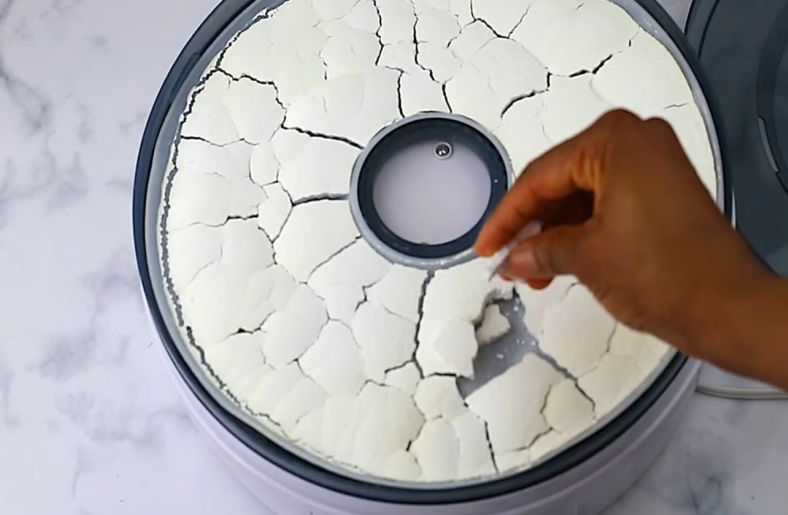
Sun-Drying Cassava Starch
Sun-drying is a traditional method that uses natural sunlight to remove moisture from the starch.
To do this, spread the starch paste evenly on a clean, flat surface like bamboo.
Choose a sunny day with low humidity for the best results.
Make sure to turn the starch every few hours to ensure it dries evenly.
This can take about one to two days, depending on the weather.
However, keep in mind that sun-drying is affected by environmental factors.
You’ll need to protect the starch from rain and insects.
Once dried, store the starch in sealed containers away from sunlight to maintain its quality.
Oven-Drying Cassava Starch
If you want more control, oven-drying is a good alternative. Preheat your oven to a low temperature, around 60°C (140°F).
Spread the starch paste in a thin, even layer on a baking sheet. Place it in the oven and allow it to dry for several hours, checking periodically for moisture.
Oven-drying usually takes only a few hours, much faster than sun-drying.
Just make sure not to overheat the starch, as this can affect its properties.
Ensuring Proper Dryness
Regardless of the method you choose, make sure the starch is thoroughly dried before storing it.
Any remaining moisture can cause clumping and spoilage, so it’s important to ensure the starch is completely dry for the best results.
Grinding and Storing Cassava Starch
Once your cassava starch is fully dried, you can grind it to a finer consistency.
While optional, grinding makes the starch smoother, improving its texture for cooking and baking. It also helps it blend better into recipes.
Grinding the Starch
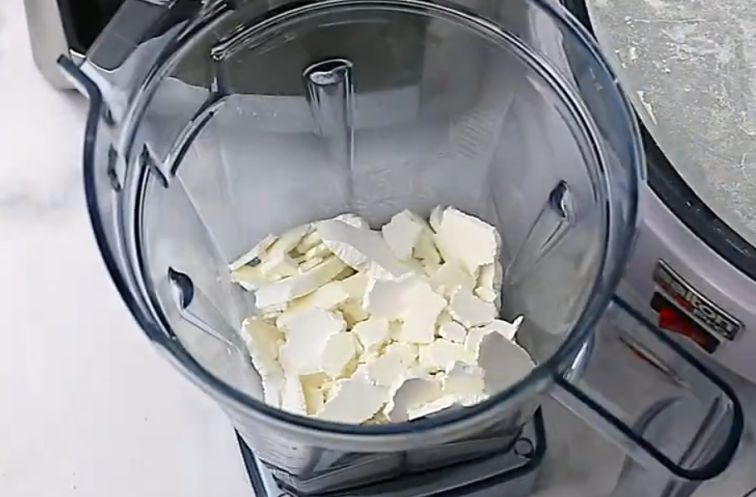
To grind the starch, use a high-quality blender or food processor. Both are effective, so pick the one that works best for you.
Start by adding small amounts of dried cassava starch into the blender or processor to avoid overloading the device.
Pulse in short bursts to prevent the starch from heating up, which can change its texture.
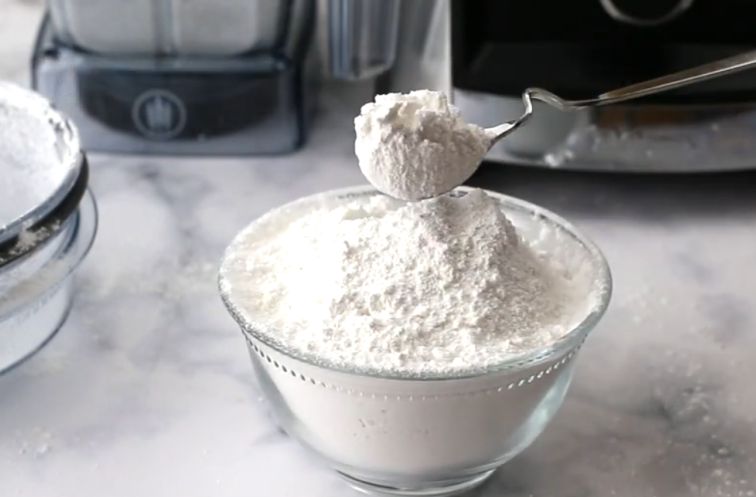
After a few pulses, check the consistency.
You want the starch to turn into a fine powder that mixes easily into batters or sauces.
If you want a super-fine texture, a spice grinder is another good option.
Storing the Starch
Once the starch is ground to your liking, transfer it into an airtight container to keep it fresh.
Store the container in a cool, dark place to protect it from moisture and sunlight, which can cause clumping or spoilage.
For longer storage, refrigerating the starch can extend its shelf life.
Watch Video: How to Make Cassava Starch at Home
Tips for Success and Storage Guidelines
To get the best results when making cassava starch at home, pay attention to each step and focus on quality.
The freshness of the cassava root plays a big role in the final product. Select firm, undamaged roots without mold or soft spots.
Fresh cassava not only gives you better flavor but also higher starch content, which leads to a more successful extraction.
Handling Cassava Safely
After peeling the cassava, it’s important to work quickly. Cassava contains cyanogenic glycosides, which can turn toxic if exposed to air for too long.
To prevent this, have your equipment ready before peeling and process the cassava right away.
This will help you get the best quality starch and avoid any safety risks.
Proper Storage for Fresh Starch
Once your cassava starch is extracted and dried, storing it properly will keep it fresh longer.
Place the starch in an airtight container and store it in a cool, dark, and dry spot.
This helps prevent moisture buildup, which can cause spoilage.
Before using, check for any signs of moisture, like clumping or stickiness, as this means the starch has absorbed water and is no longer good for cooking.
Watch for Spoilage
Keep an eye on your starch for any signs of spoilage, such as bad smells or discoloration.
If you notice any of these issues, it’s better to discard the starch to avoid using potentially unsafe ingredients.
Following these tips and proper storage methods will help your homemade cassava starch stay fresh and ready for your next recipe.
Four Frequently Asked Questions
Can I use any type of cassava root for making starch?
It’s best to use mature, firm, and blemish-free cassava roots to ensure a higher starch yield and better final product quality.
How long does it take to make cassava starch from start to finish?
The whole process takes a few hours, including peeling, blending, settling, and drying, depending on your drying method and climate.
Is homemade cassava starch the same as tapioca starch?
Not quite, tapioca starch is obtained by refining cassava starch further, stripping it of some properties.
How do I store the cassava starch once it’s dry?
Store the dried starch in an airtight container in a cool, dry place to prevent moisture, clumping, or spoilage over time.
Conclusion
Knowing how to make cassava starch at home is a simple, rewarding process that requires just fresh cassava roots, clean water, and basic kitchen tools.
From peeling and blending to extracting and drying, each step helps you create a clean, gluten-free starch perfect for thickening soups, baking, or crafting tapioca-based desserts.
Unlike store-bought versions, homemade cassava starch contains no preservatives or additives, making it a natural and healthier choice for your recipes.
By learning this method, you not only save money but also gain control over the ingredients you use in your cooking.
Whether you sun-dry or oven-dry, the result is a versatile, long-lasting starch that you can proudly make and use right from your own kitchen.

Chimeremeze Emeh is a writer and researcher passionate about Africa’s most transformative root crop—cassava. Through his work at cassavavaluechain.com, he explores the entire cassava industry, from cultivation and processing to its diverse applications in food, health, and industrial use.
He also writes for palmoilpalm.com, where he shares his extensive experience and deep-rooted knowledge of palm oil, covering red palm oil, palm kernel oil, and refined products. His work there reflects his lifelong connection to agriculture and his commitment to promoting sustainable value chains in Africa.
Driven by curiosity and purpose, Chimeremeze aims to shed light on how cassava continues to empower communities, strengthen food systems, and link traditional farming wisdom with modern innovation.